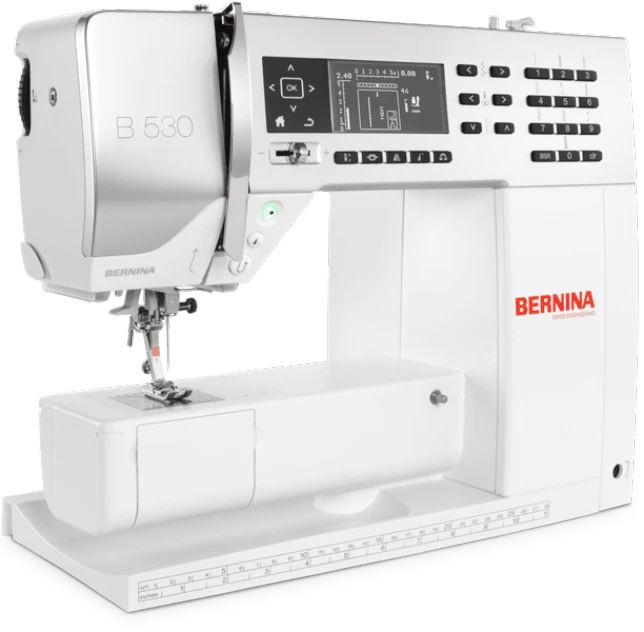
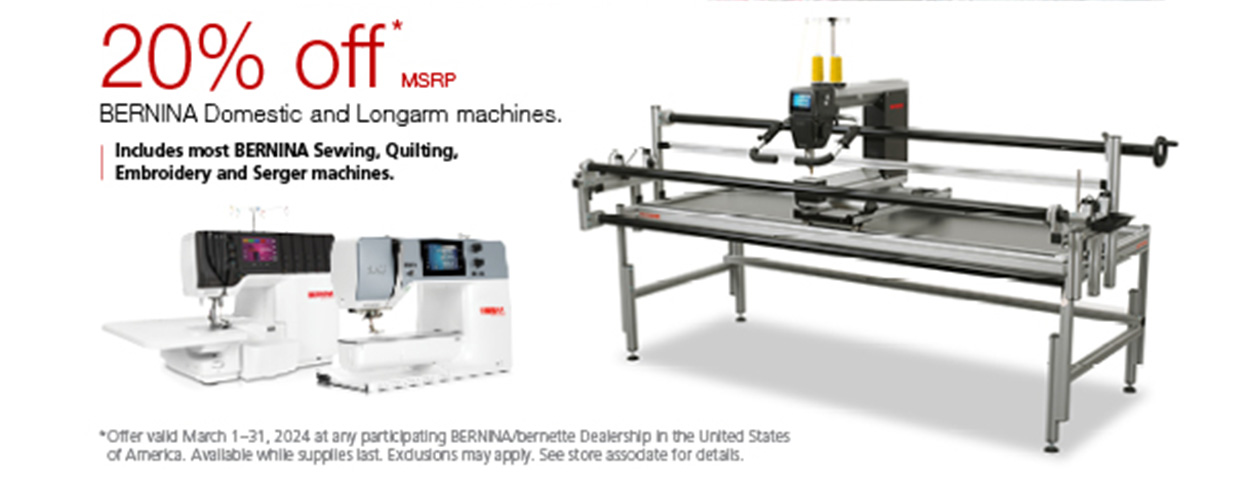
It’s more than a sewing machine, it’s a tradition. At Blow’s Sew-N-Vac, we understand the importance of quality sewing products, accessories, and highly durable Vacuums.
Financing made easy, so you
can get back to your craft.
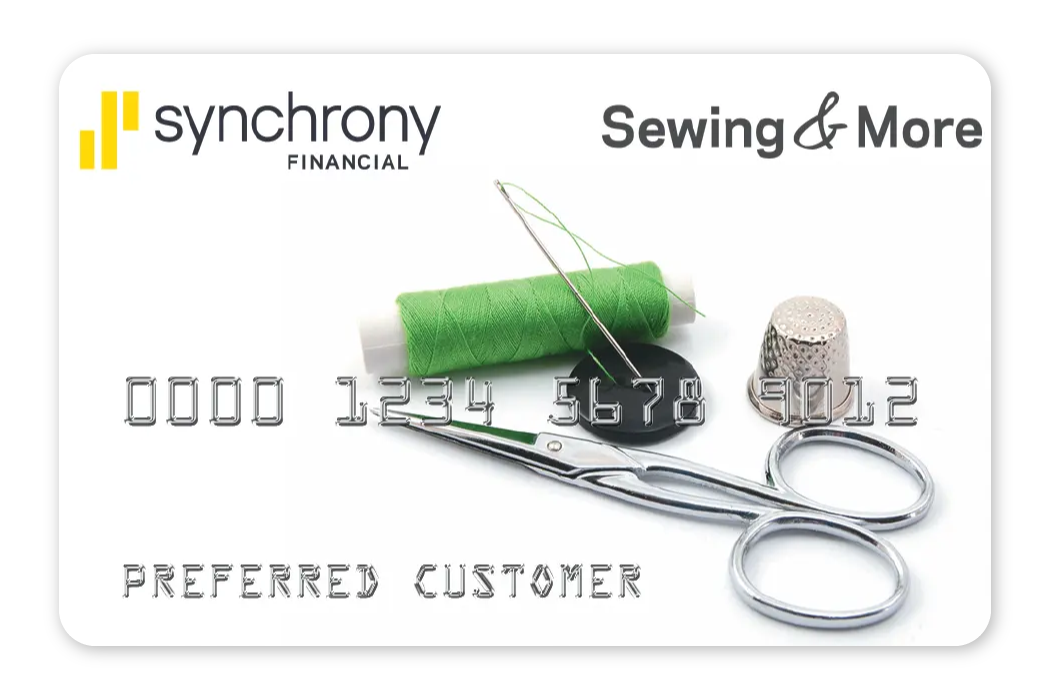
Discover seamless and flexible financing options for your purchases at Blows Sew and Vac through our trusted partner, Synchrony. Sign up today to experience the ease of managing your payments and enjoy the convenience of affordable financing solutions.